Birthday Card(board) Boxes
A write up on my strange passion of going all-in on birthday cards.
Birthday cards have always been difficult for me to make. It's my fault.
I usually like to take at least a few days just for brainstorming. On someone’s special day, how can my card actually be special? Every year, for a few select people chosen mostly at random, I will go all-out on making a birthday card experience.
In the past, I’ve created confetti launchers, puzzle boxes, birthday cards with soundtracks, and cards that allow you to pick how old you feel! It’s earned me some reputation for being a maker not of birthday cards, but of birthday card(board) boxes.
I figured I’d do a write-up on one of my recent cards, since why not!
Stage 1: Ideation
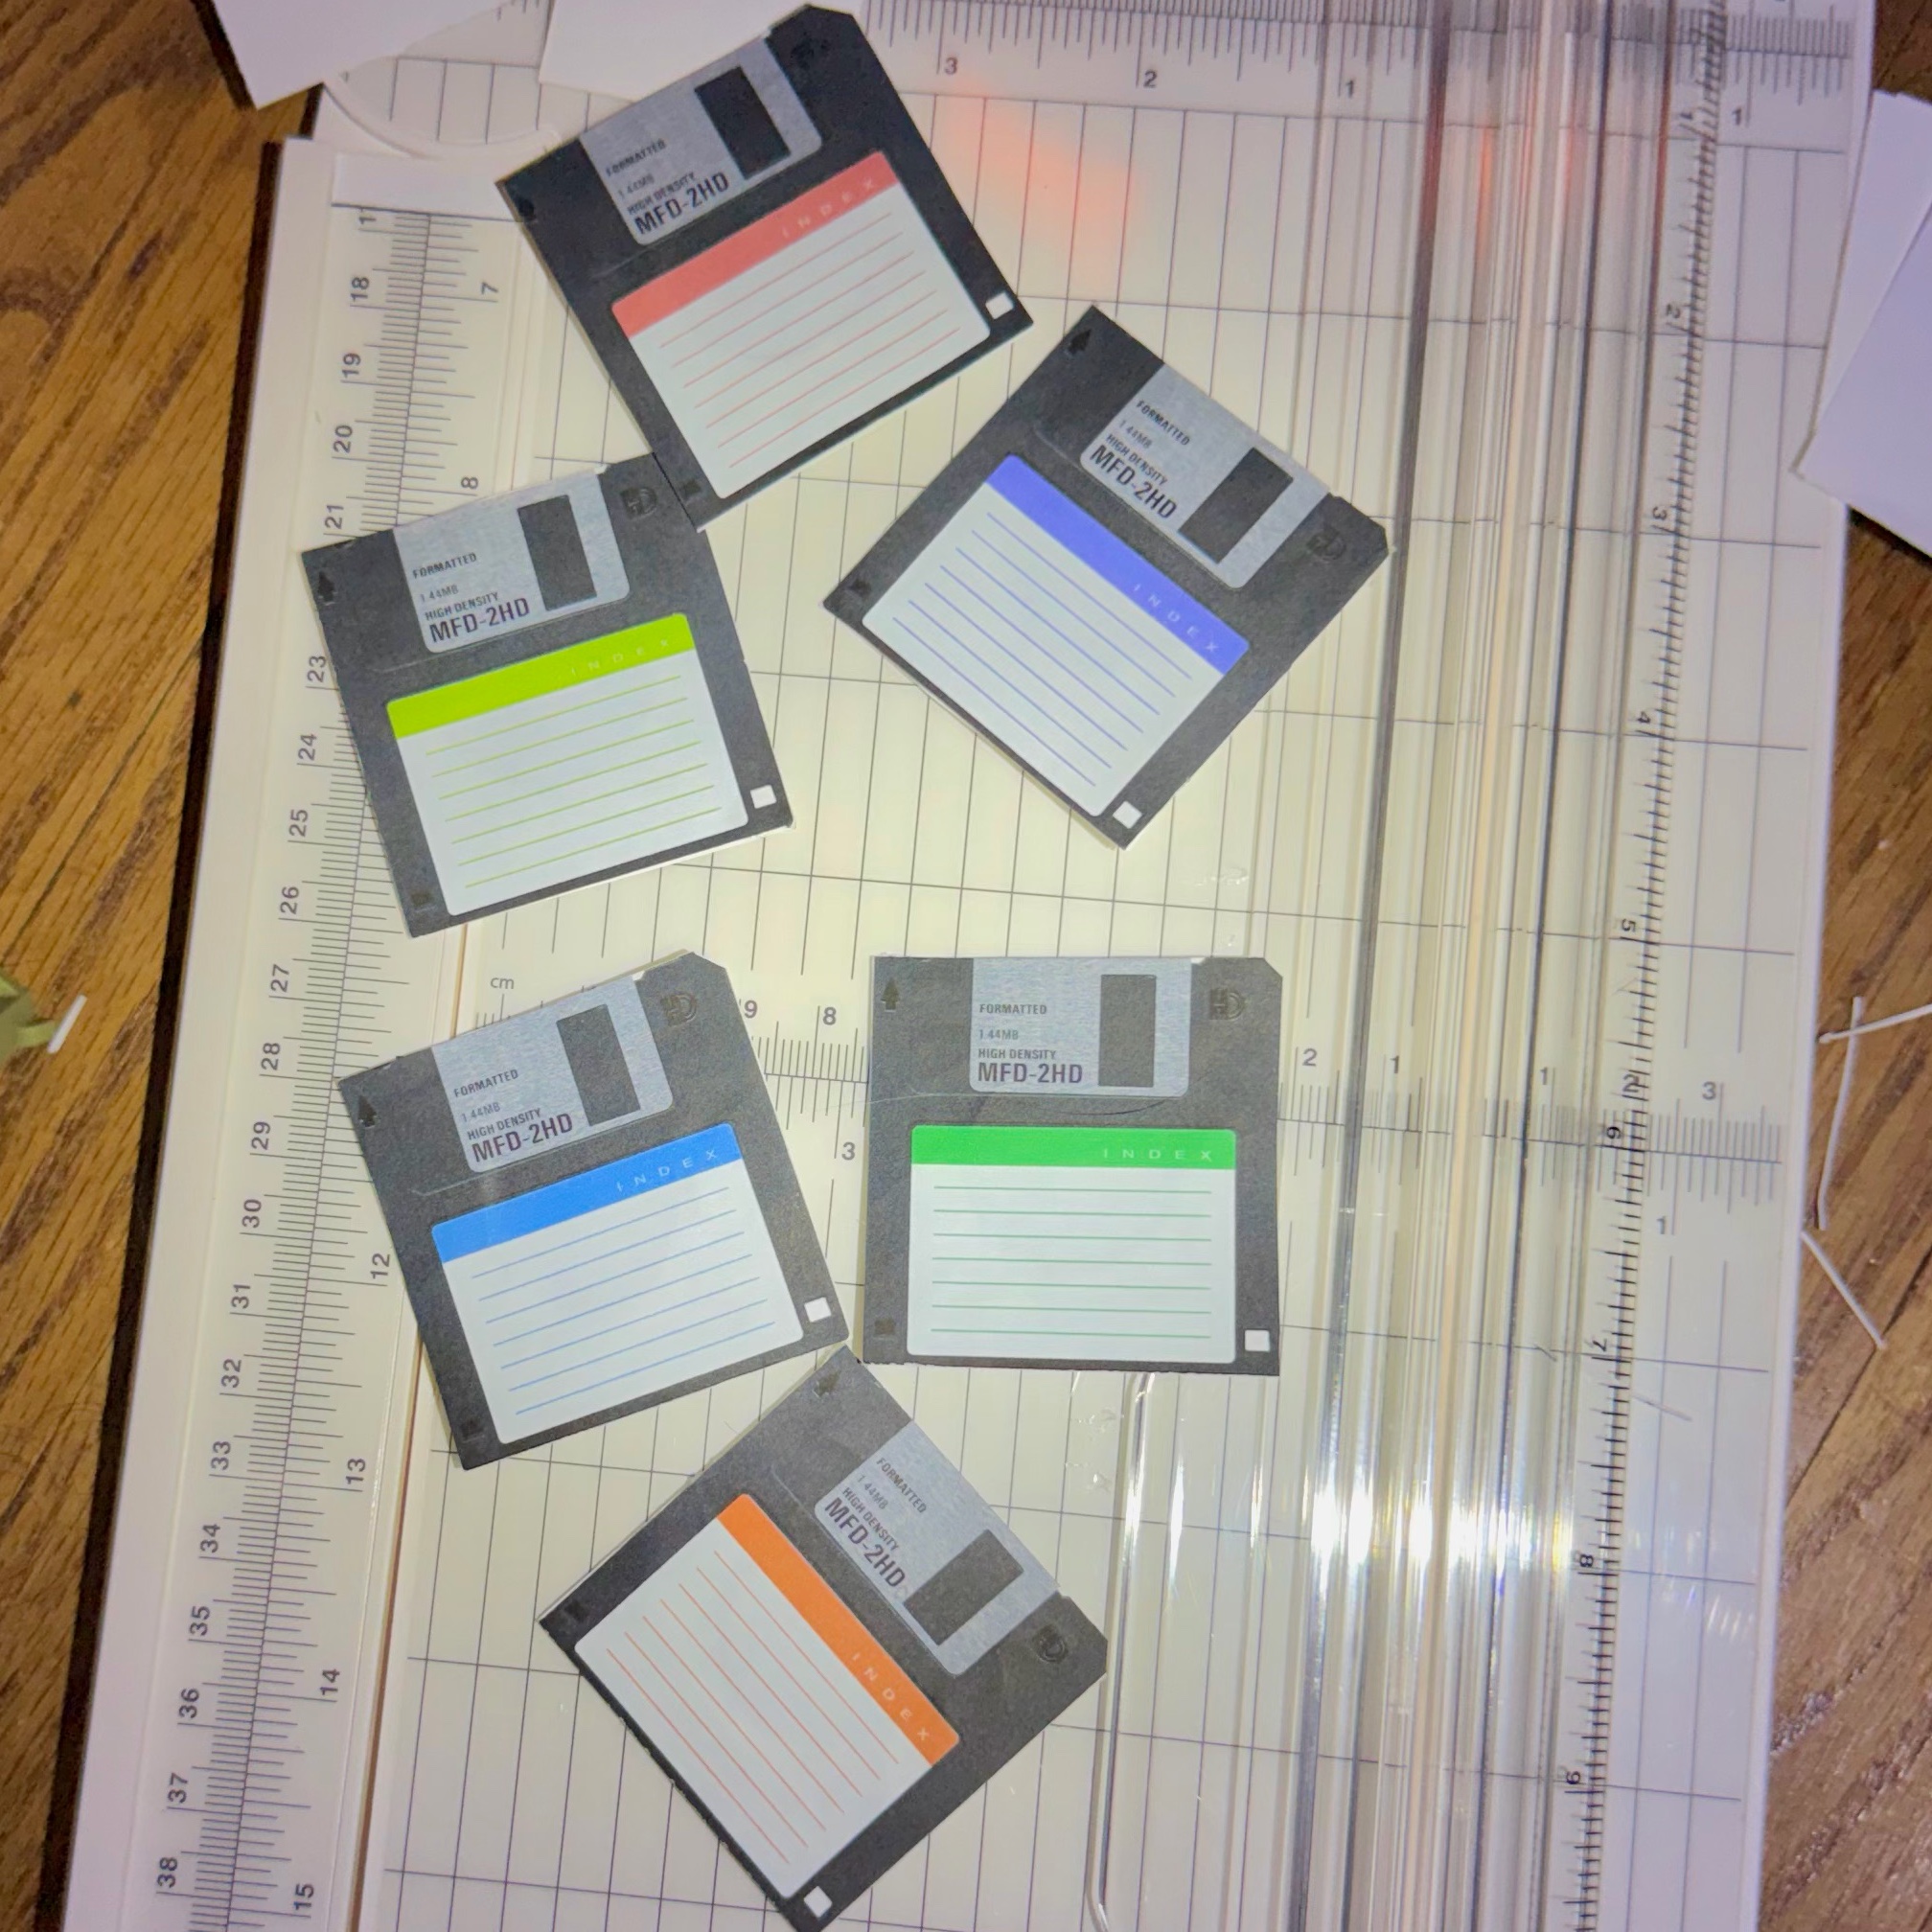
The idea for this card came to me surprisingly quick. I knew already that I wanted to incorporate a birthday message split across many “disks,” since I had recently been talking with the card recipient about old forms of data storage, like VCRs and floppy disks. I felt I could add some comedy to the overall experience through the division of the birthday message between disks, and it worked well with the drawn-out inside joke that I used for said message.
Once that rough idea came to me, the fun started!
Stage 2: Proof of Concept
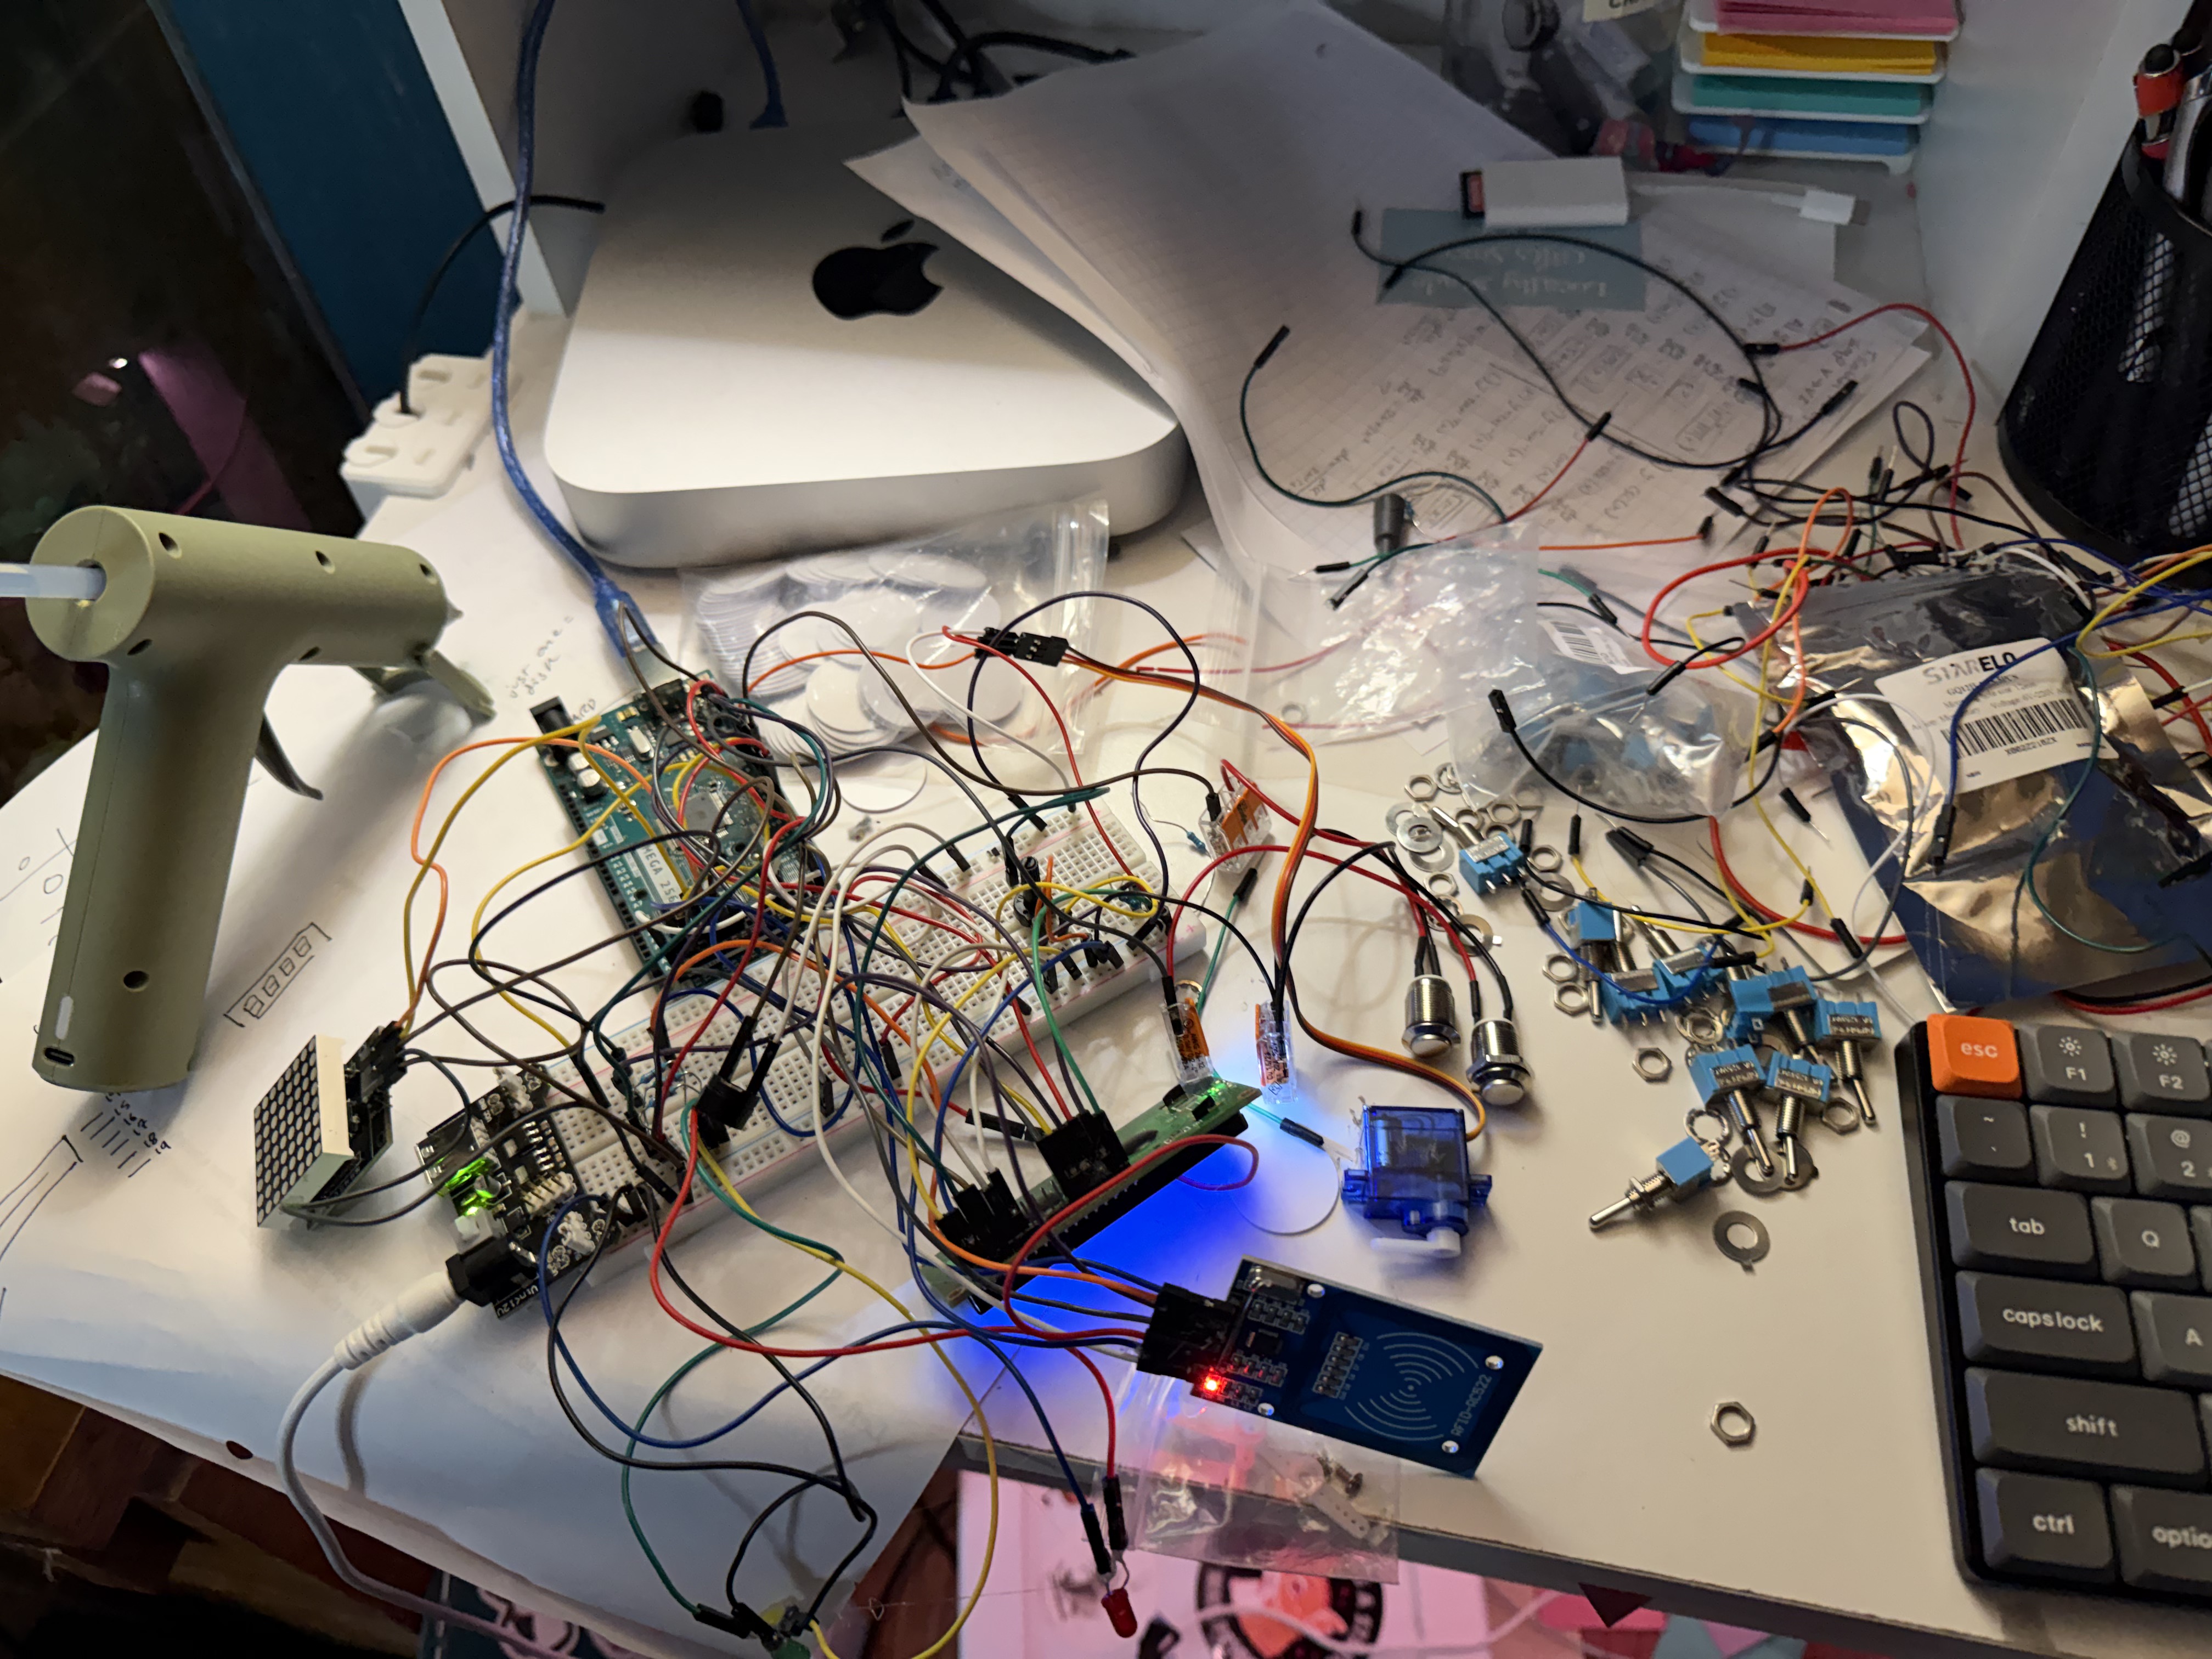
I grabbed an Arduino Mega and a breadboard, and got to work plugging in components and testing them individually to make sure they worked.
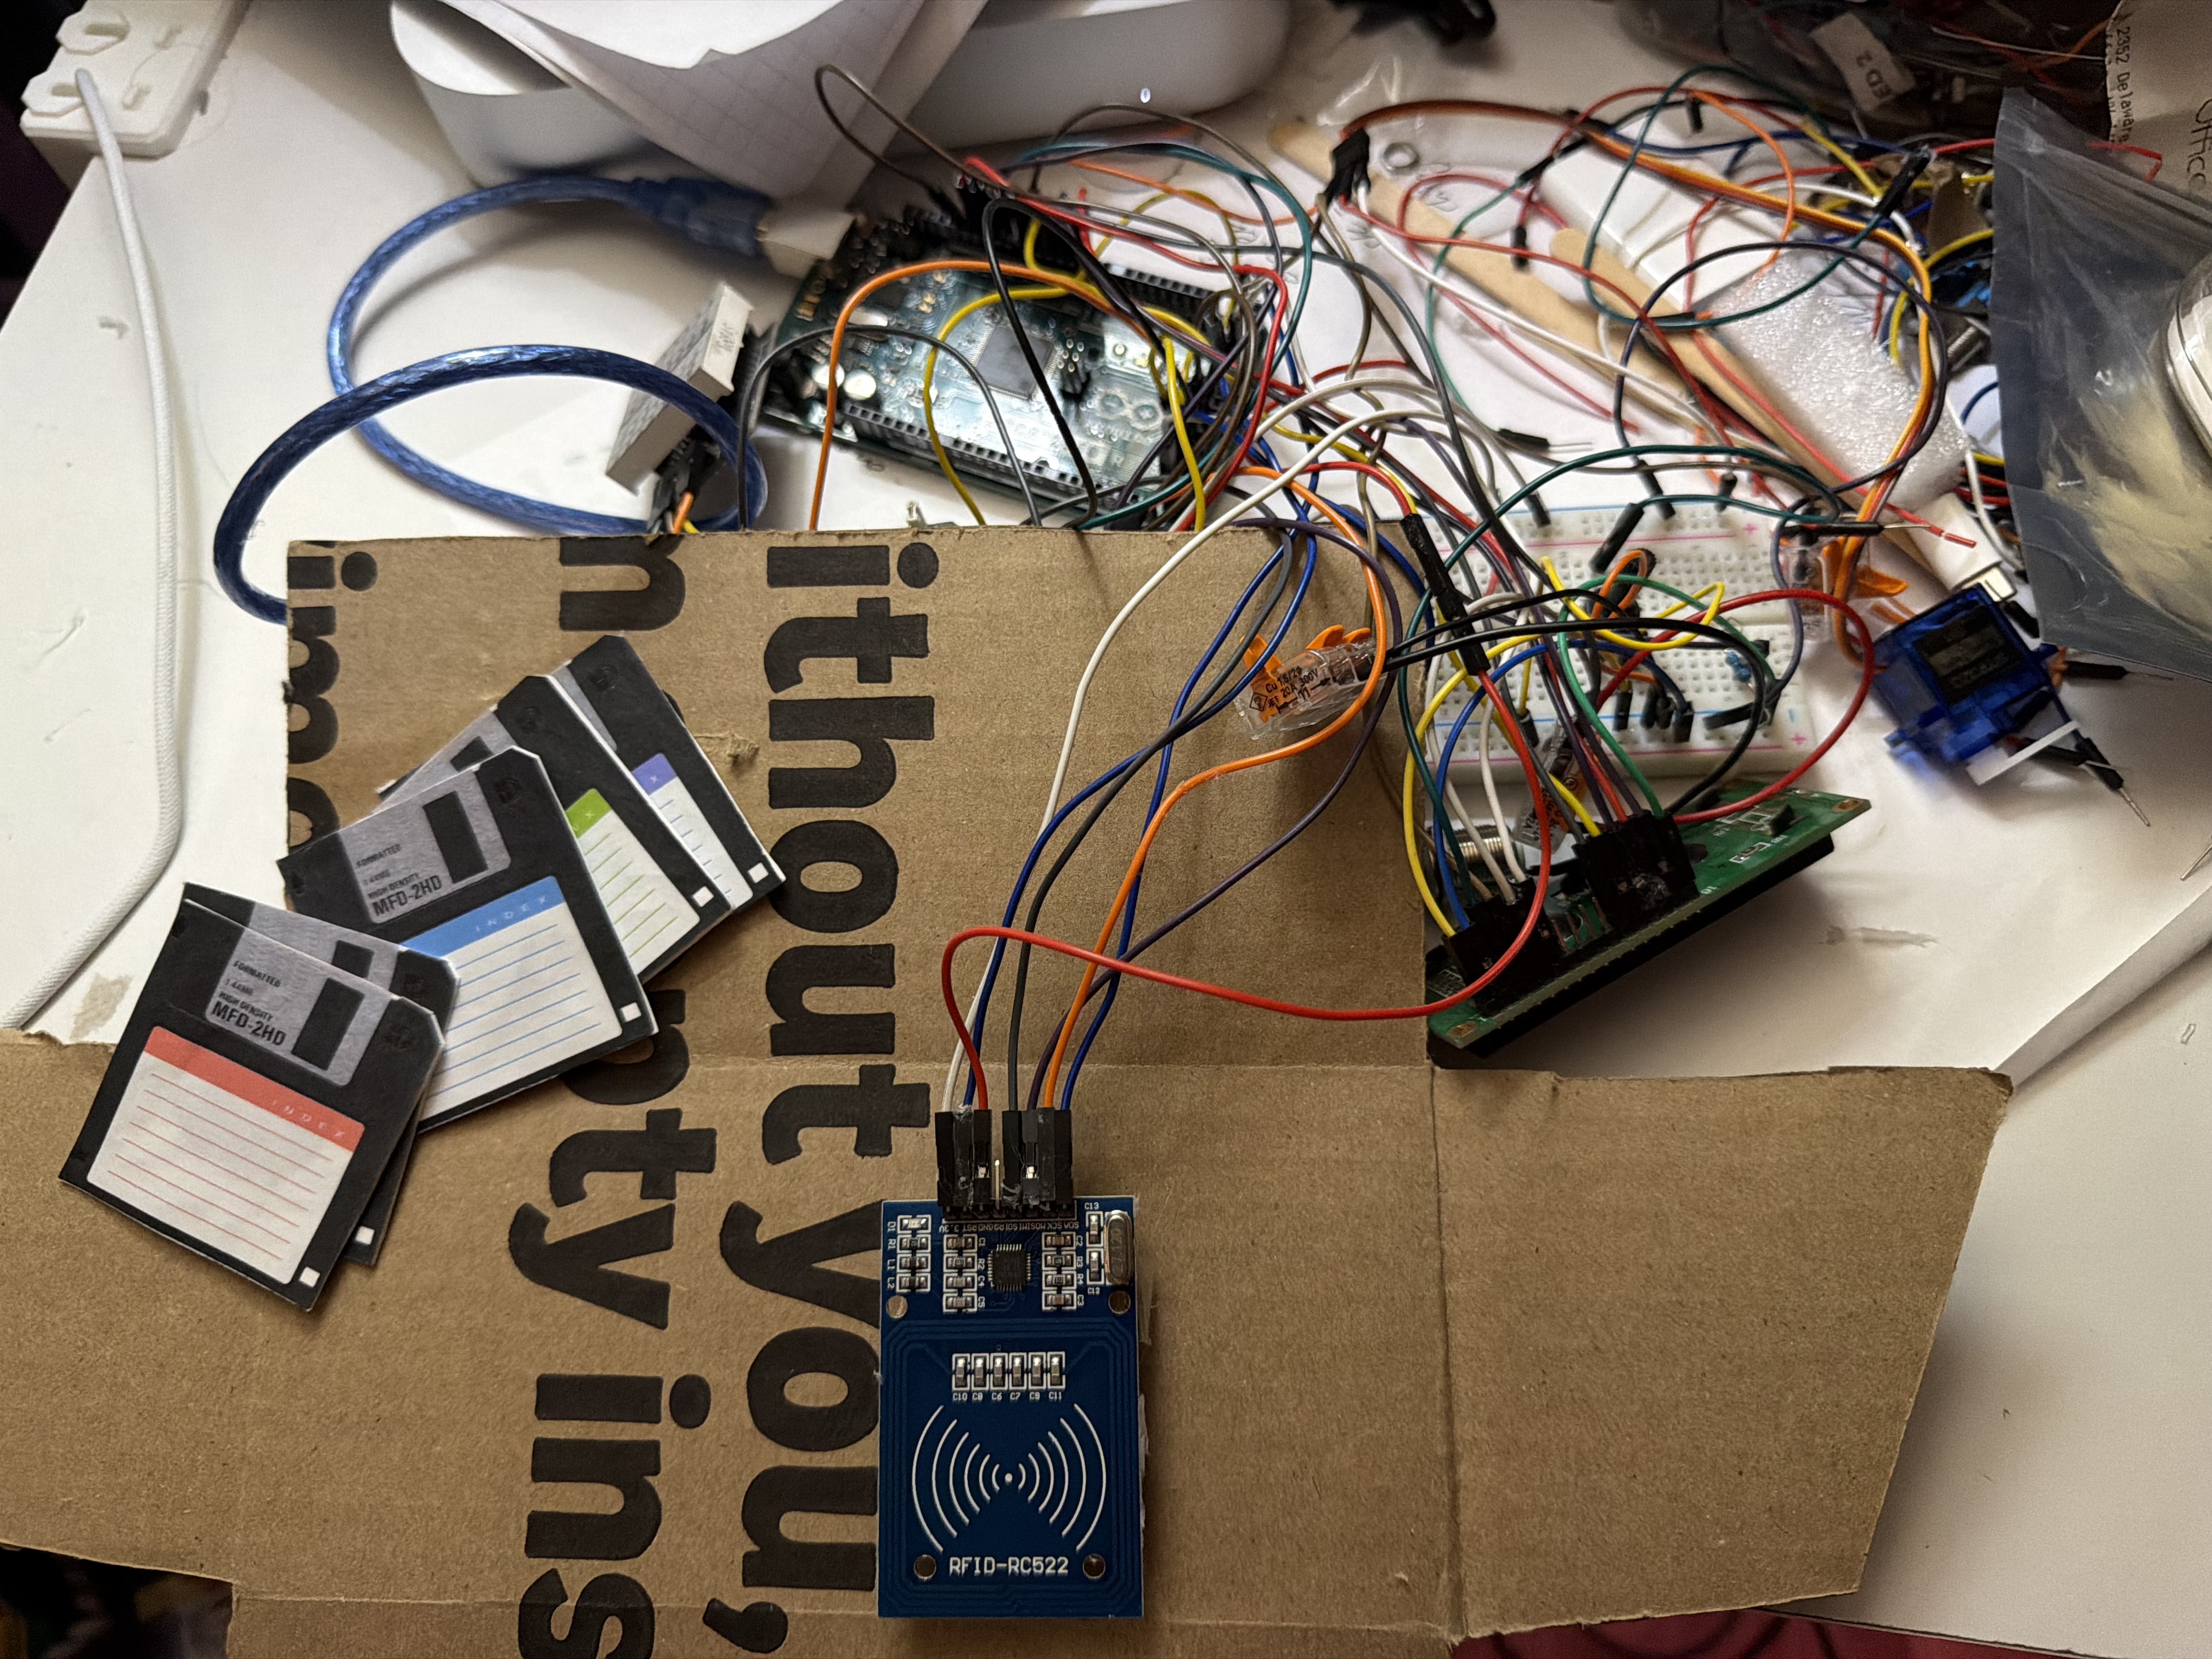
First order of business was determining how the “floppy disks” would be read. In other words, what are the inputs? I decided that the easiest thing to do with the parts I had lying around would be to use an RFID scanner with some cheap NFC tags I had. So I printed out color-adjusted floppy disks on printer paper that I made on Canva, gave each a thick cardstock backing with a hole cut in it, and filled each hole with a unique NFC tag that could be picked up by my RFID reader. I also decided on including a “load” and “unload” button as other inputs.
The harder decision to make was how the message would be displayed. For the text in my message, I had to choose between using a small e-ink display, which I determined was overkill, and a small LCD screen, which is what I went with. The LCD is limited in its character capacity (16x2), but is extremely simple to use with the LiquidCrystal library.
I also wanted to show what number disk was loaded. (The message needed to stay in order!) For this, I debated using a 7-segment display, a series of LEDs, or an 8x8 dot matrix. Surprisingly, the simplest of these options was the 64-dot matrix! It only requires a few wires since it has built-in processing that allows it to take a matrix value and display it. Using an online tool, generating numbers as 8x8 matrices was simple, and I was even able to use the versatility of the dot matrix to display things like a heart! Lastly, I added a few more LEDs to indicate when a disk was being loaded, and a servo to eject the disk.
Stage 3: Putting it together
I am less proficient with coding, so I found tutorials online for each individual component, then copied the code into my file so I could start with a framework for each component. I slotted each bit of the C++ code together, beginning to write custom functions to load patterns on the 8x8 matrix, check the RFID reader for a new disk, or loop animations for loading and unloading disks.
As this code came together, I was able to refine the overall experience, working through different birthday message variations, adding new interactive experiences using the buttons, and making sure all of the components consistently worked well together.
Stage 4: Final polishing and delivery
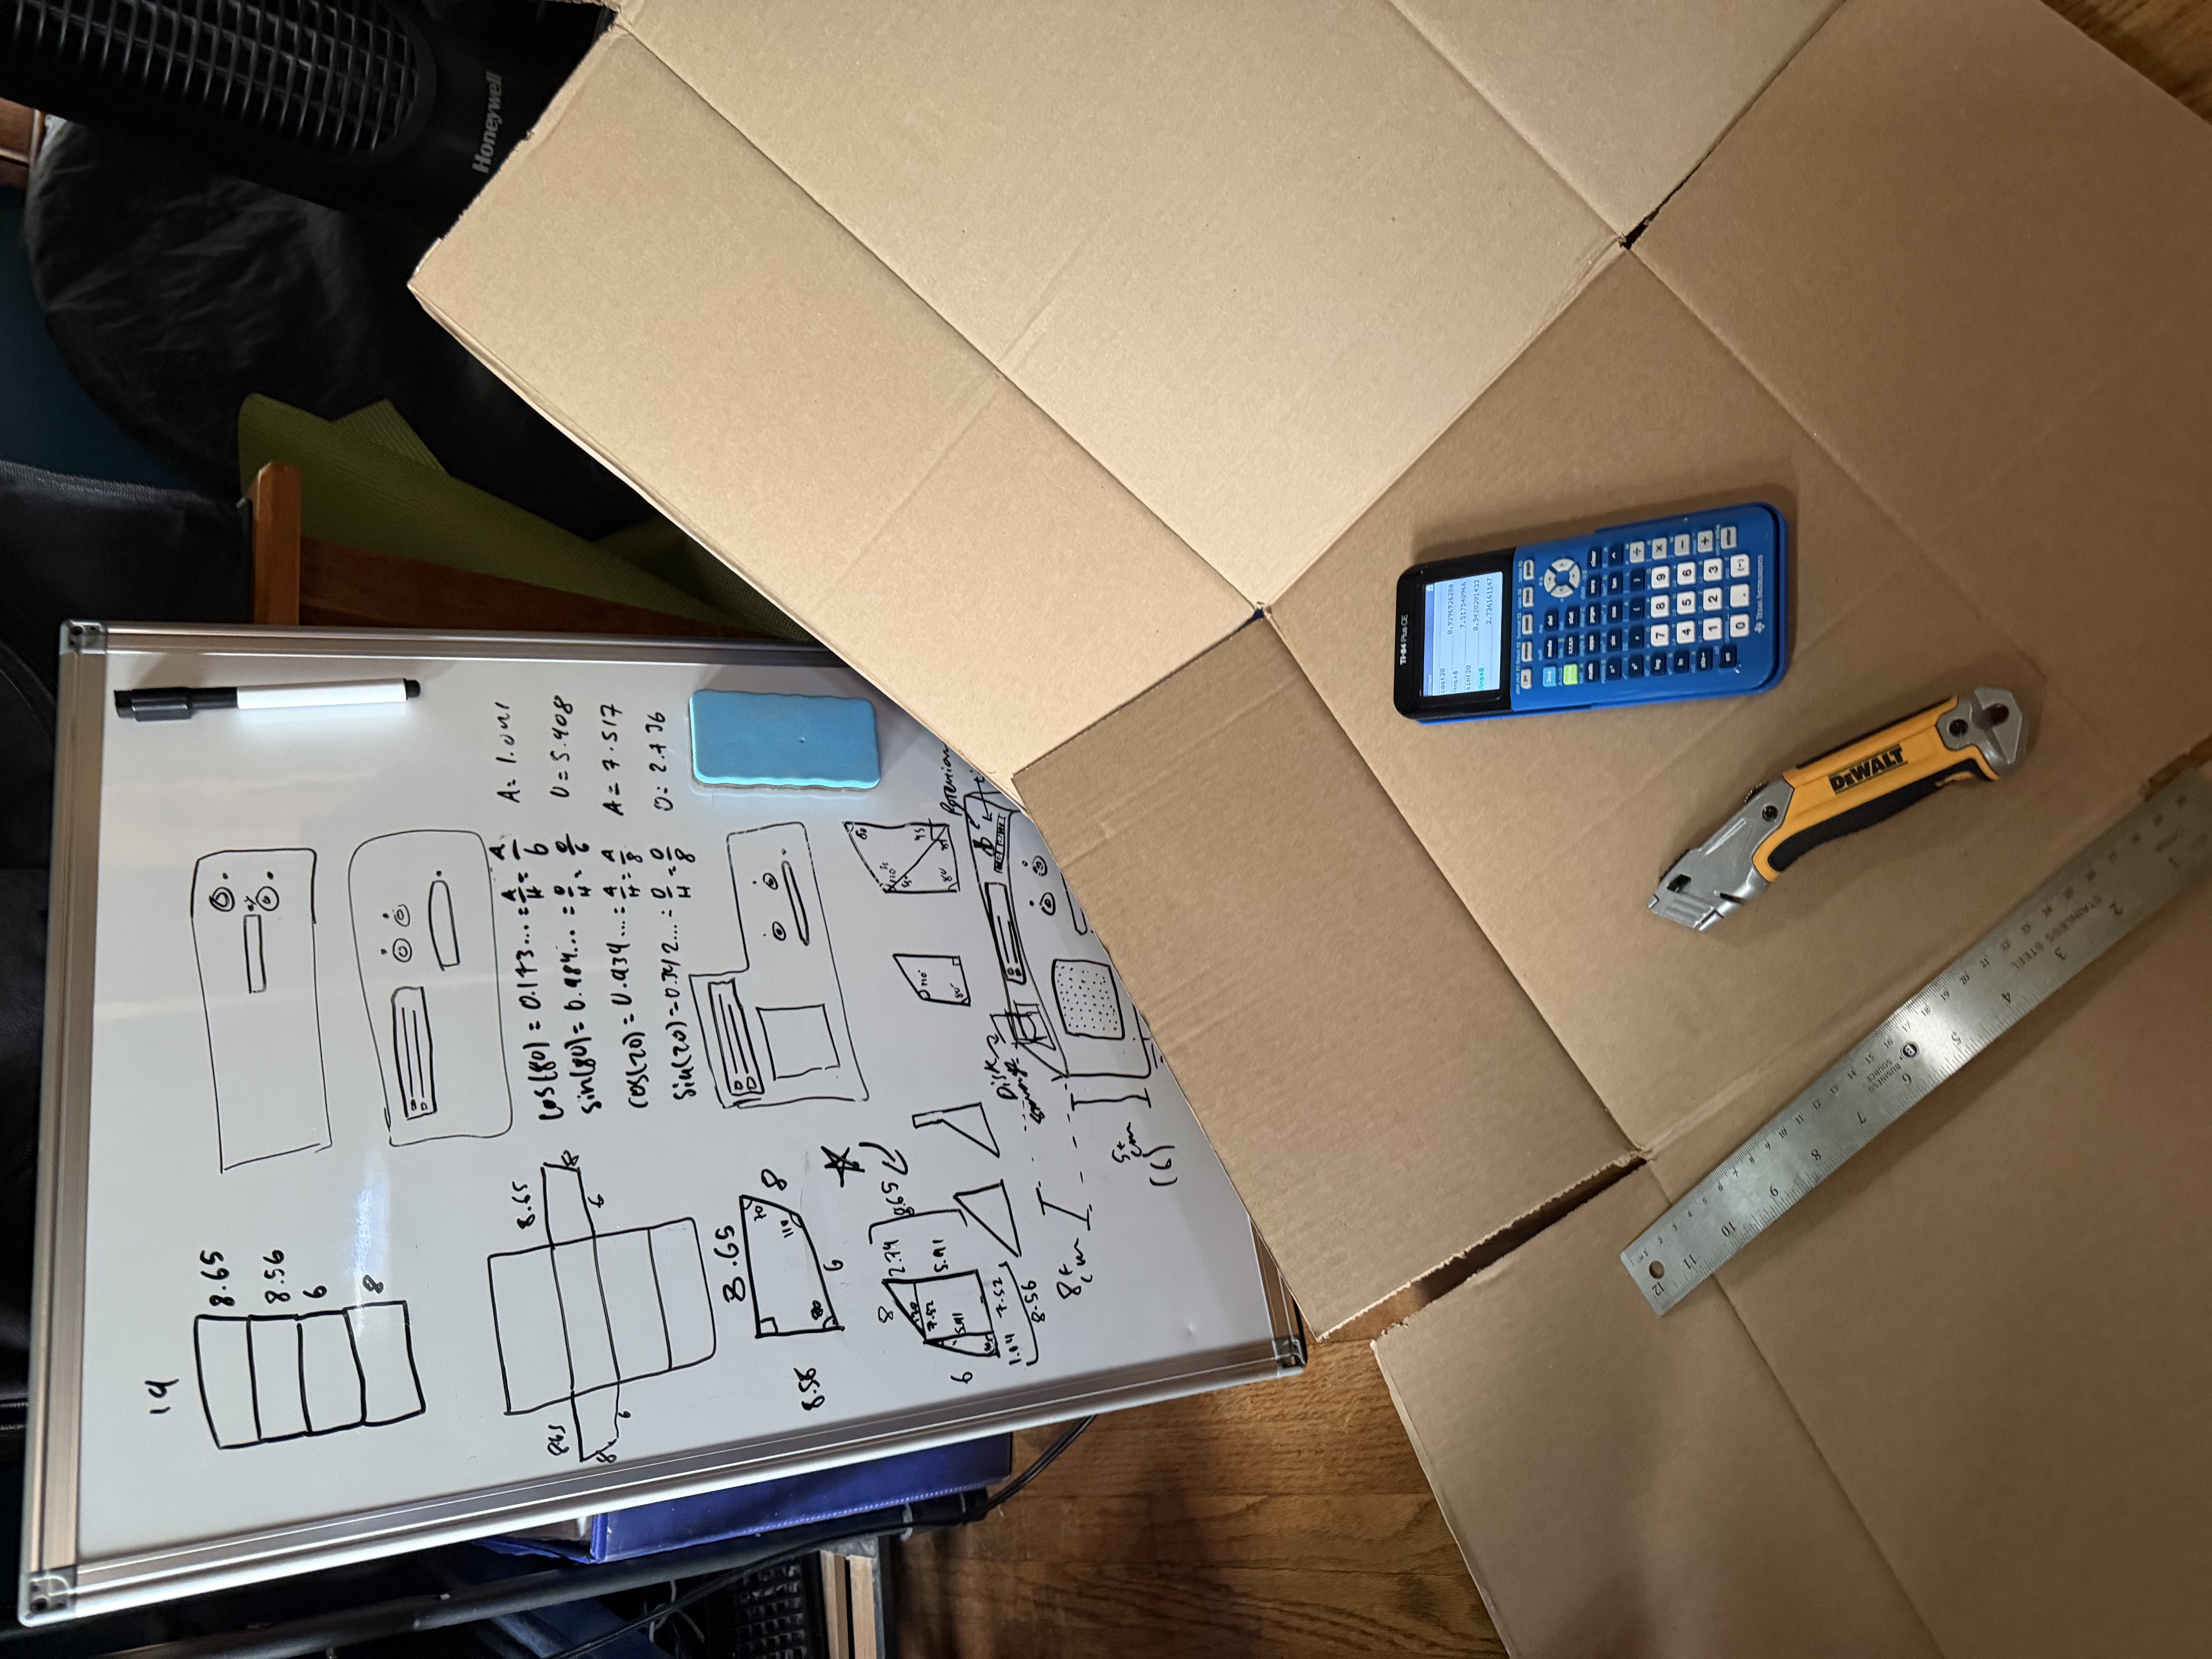
Everything works at this point, so we just need to package it all up so it is usable! I grabbed my whiteboard and began sketching different layouts so that the disk slot would be accessible and the display screen would be readable. After a few iterations, I did the math to figure out the shape I had to cut from a sheet of cardboard (the “net” for my math people), added holes for all of the components, and (struggled to) jam all the wires in and seal it up.
Often I will design and 3D print complex enclosures, but I figure for a one-time use project like this, there is some magic in just roughing it out with some cardboard and hot glue! That way, no new plastic is used, and it’s relatively simple to disassemble and recycle once it has done its job.
All said and done, I’m super happy with how it came out - the enclosure certainly could be more polished, and the servo ejector definitely needs work, but the message and the innovative delivery went over super well with the recipient, who loved it. It’s always fun to take a few days to get swept up in a short project like this, and I find it to be a great way to flex both my creative and my engineer muscles, while staying fresh on how to program microcontrollers and what components work best for different applications.
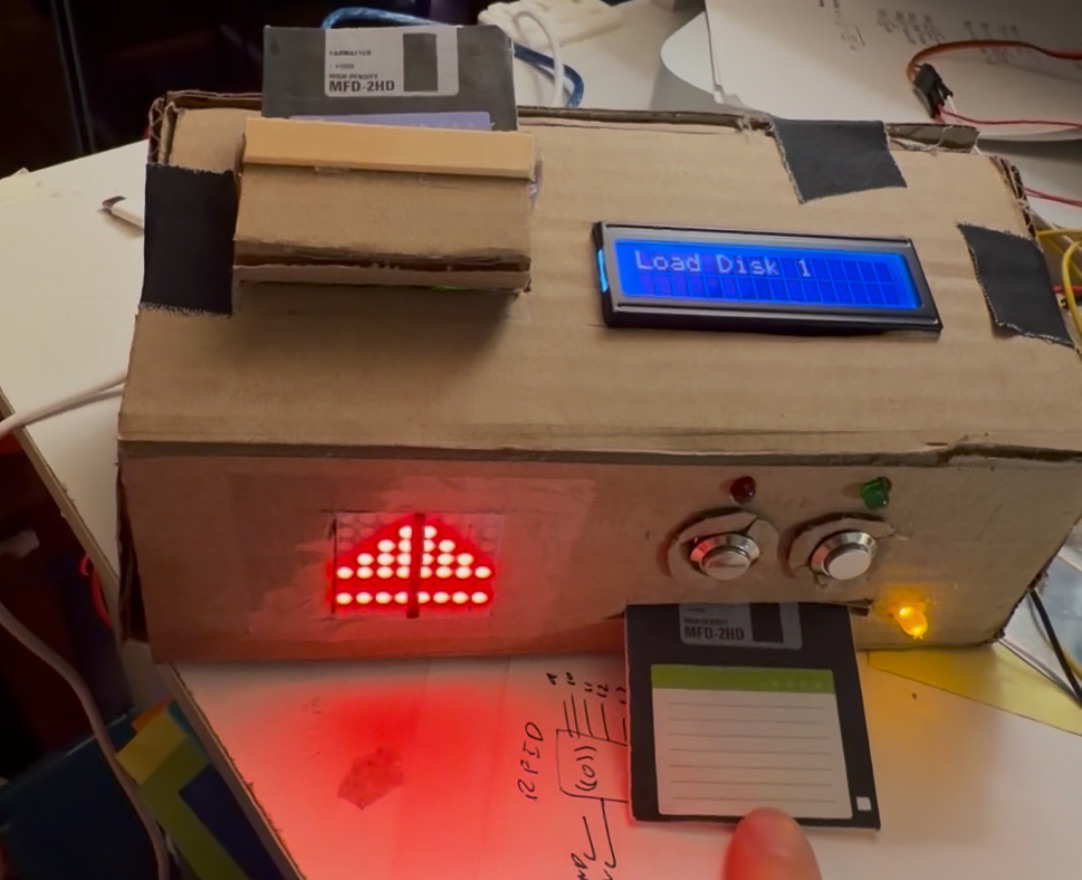
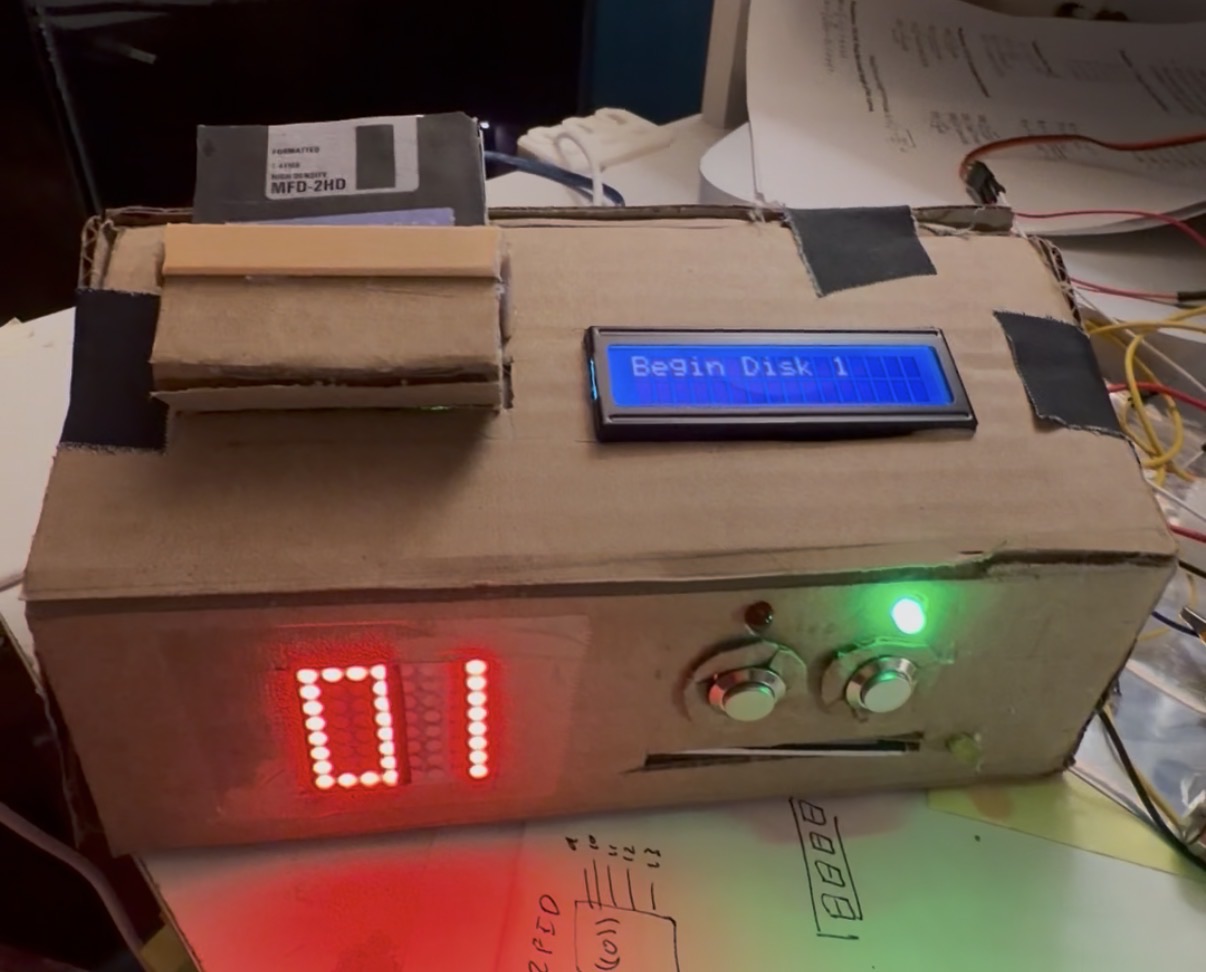
So that is how one of my birthday card(board) boxes came to be! That’s all for this article!
Until next time
- Isaiah
More blog:
I had a Broken Keyboard...
How I finally fixed a broken musical keyboard that I've had for years, what I've learned from the process.
The Making of Baguetella
The story of Cinderella, told through stop-motion animated baguettes. It's just as crazy as it sounds.
This is a birthday card.
My process of making birthday card... board boxes