I had a broken keyboard...

A story of my journey learning to solder and understand electronics, through the lens of one specific keyboard repair!
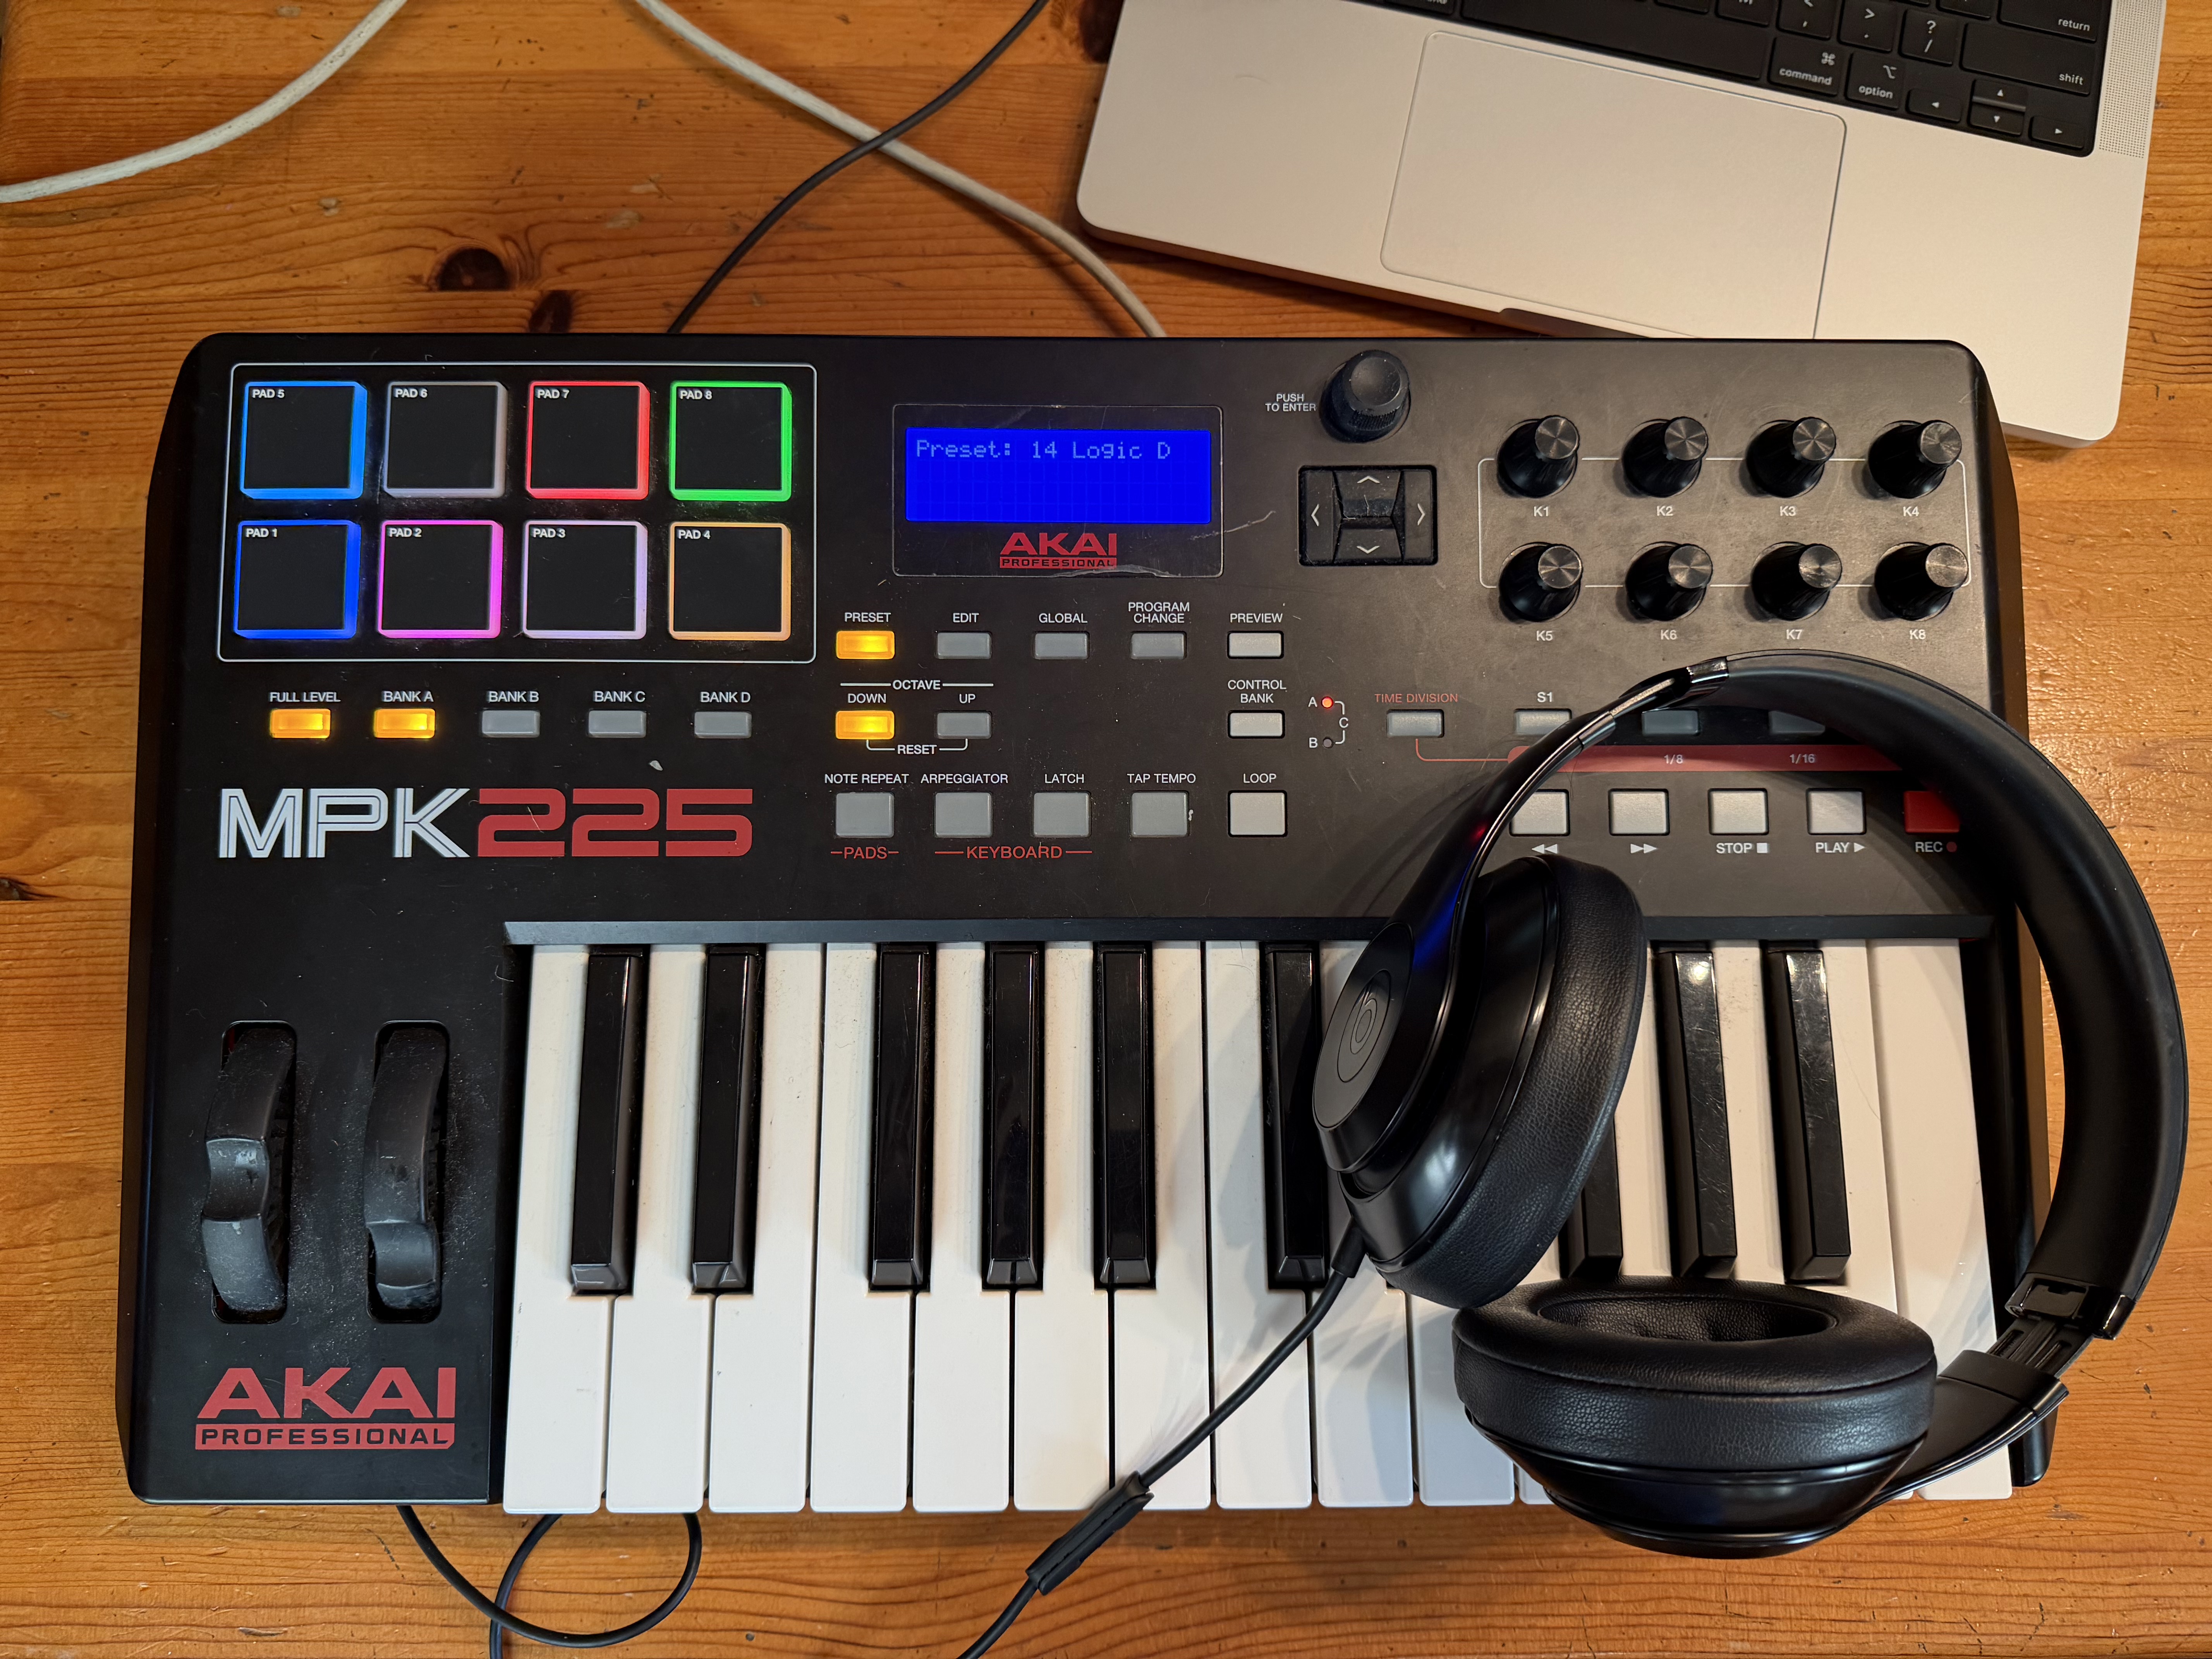
As Macklemore once wrote, “They had a broken keyboard, I bought a broken keyboard.”
That’s not exactly what happened here, but it does go through my head whenever I think about it.
In the beginning
In my first year of high school, my Media Communications teacher graciously gifted me an extra soldering iron that she had left over from a summer camp she taught, recognizing my engineering brain from day one.
I was thrilled, and immediately started looking for things that I could try to fix with my newfound tool. Little did I know - I wouldn’t have to look, it would come. People knew I was someone who could solve problems and fix things. So when the USB port on a MIDI keyboard in my department got just one too many harsh tugs, it was given to me on a “if you can fix it, you can keep it” basis.
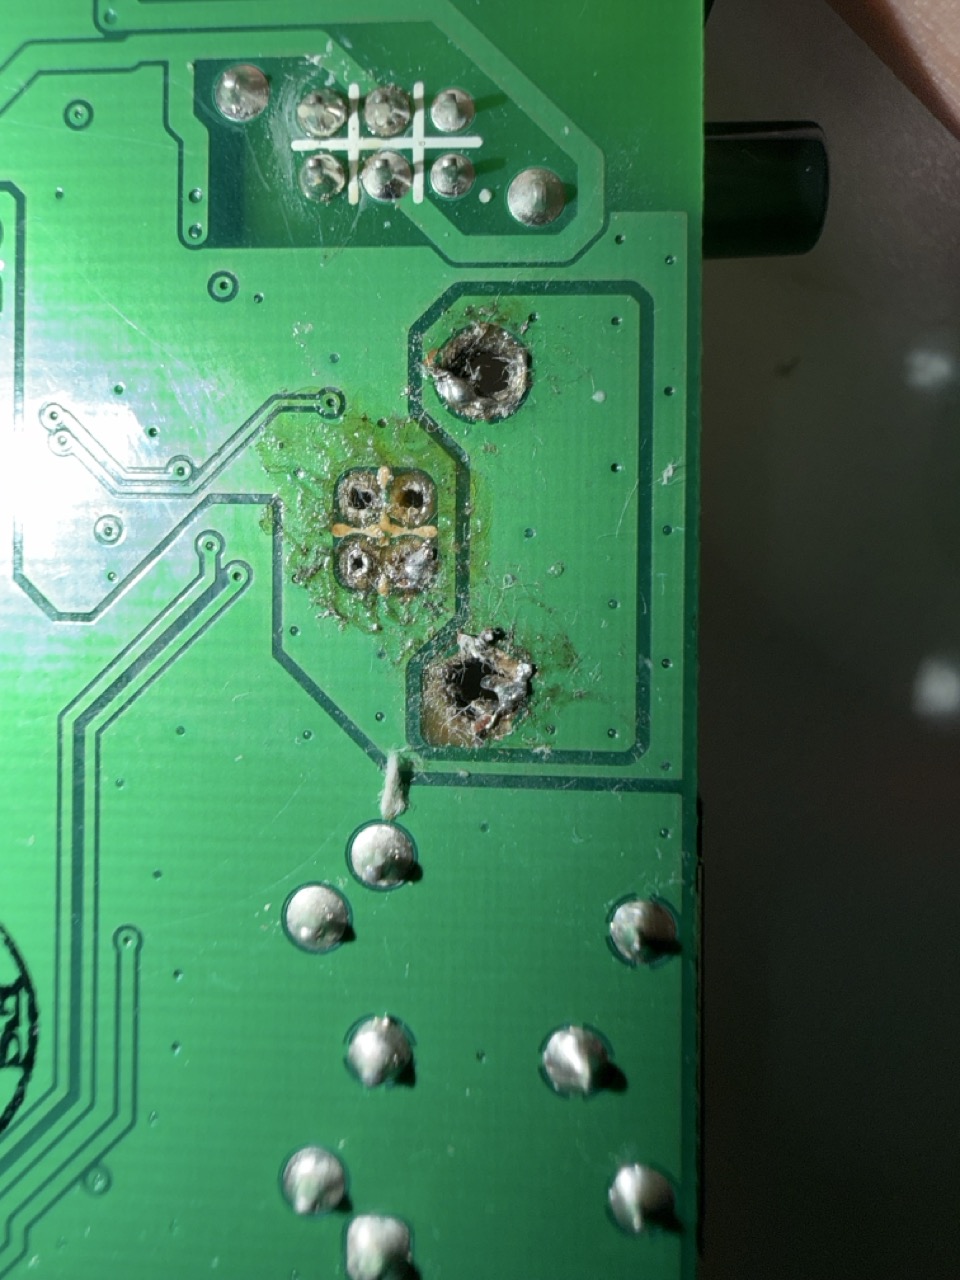
Whoops
Something any experienced solderer would probably tell you is that it is far easier to solder new components onto a new PCB with nice, clean pads. They would definitely tell a beginning solderer that they should get some experience with soldering before trying to desolder old components on a tiny commercial circuit board and replace them. Nobody told me this, and I love trying to learn new things by doing them, so I went ahead and ordered replacement through-hole USB ports, plugged in the soldering iron, cranked it up way too high, and got to work.
This is how I scorched my first circuit board. And I really, really scorched it. Inconsistent application of an overheated iron as I yanked out pieces of this port left me with no pads to solder to (which I didn’t understand as important at the time), and my repeated attempts to re-solder tiny pins on my replacement ports only left things worse.
Only sort of giving up...
There was a point where I just had to stop, recognizing that I didn’t know what I was doing well enough to continue. But I wouldn’t give up. So that keyboard sat in my closet, and every 6 months or so, I would pull it out, each time with a little more experience under my belt as I soldered more, fixed electronics, designed my own circuit boards, and understood how to solder effectively. But the pads that I was used to soldering to were obliterated, and every time, I would try again to install this port but be unable to make any progress.
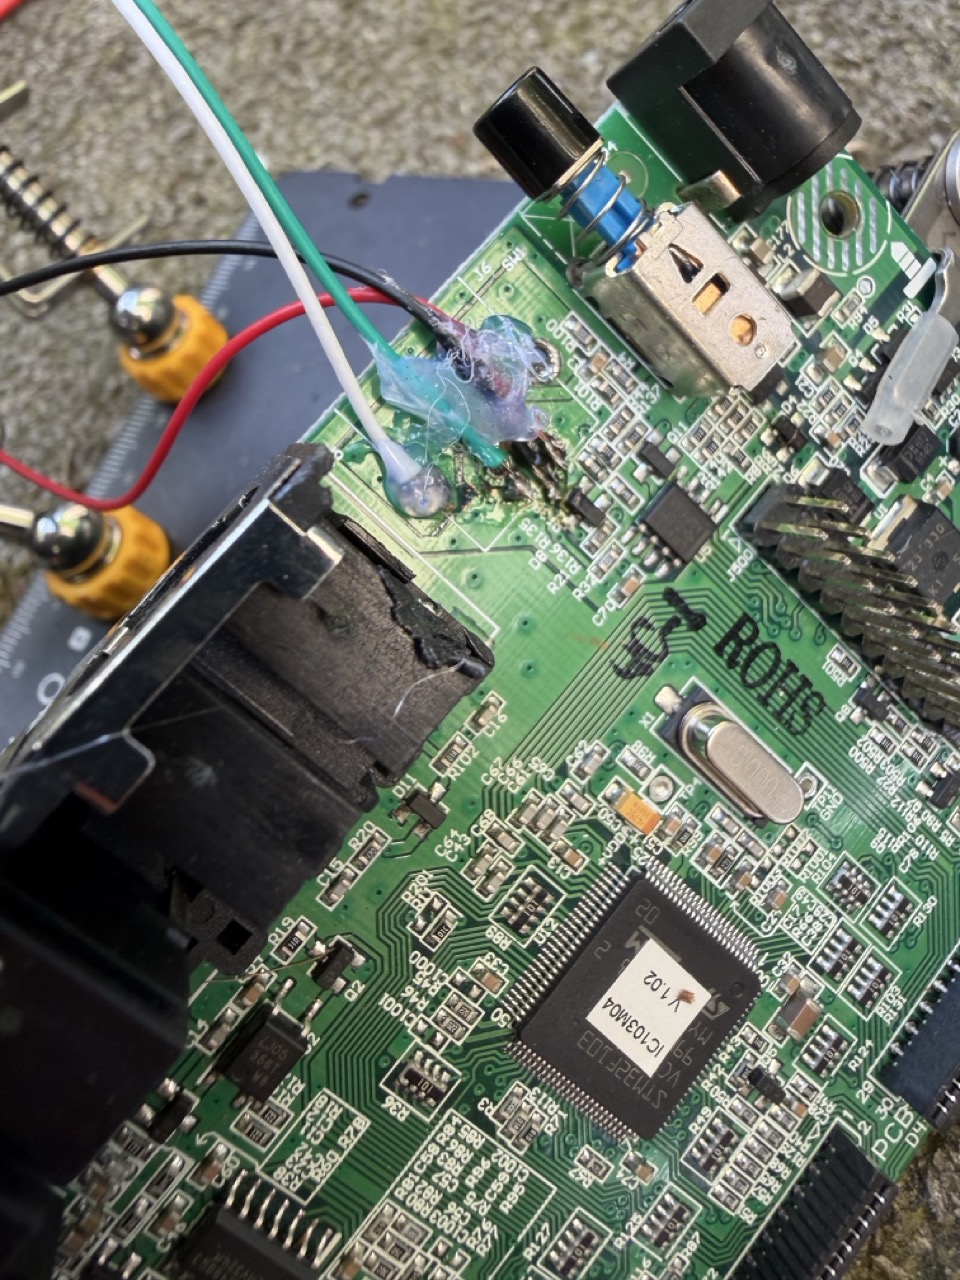
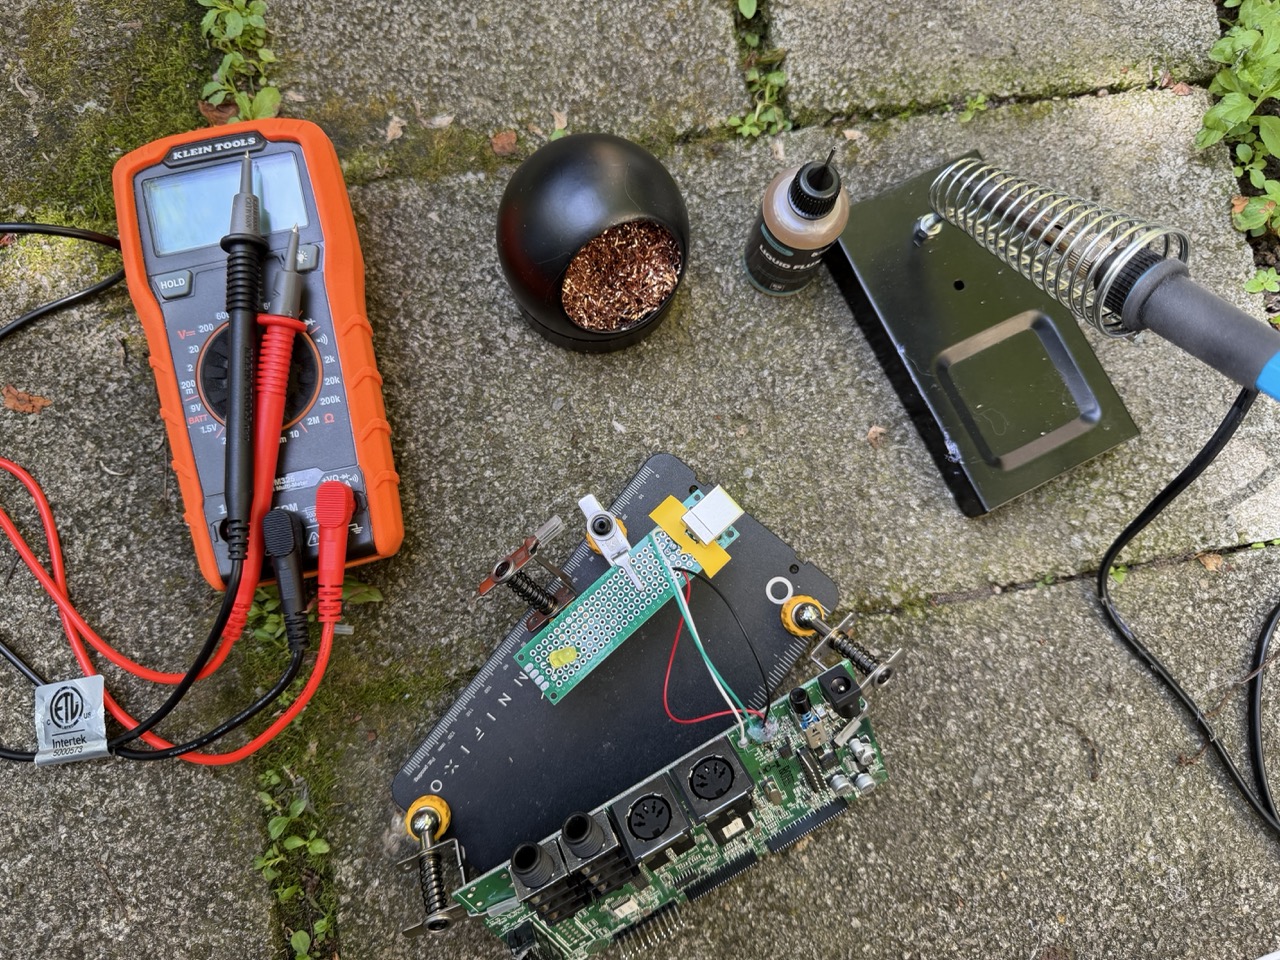
Definitely not giving up (Fun technical section)
In the early days of Summer 2026, I pulled out my soldering iron, convinced that, with my relative soldering and circuit analysis proficiency, I was ready to take this seemingly impossible fix on. I gave up on the pads, but after reading online about a technique where you can scrape away the coating on traces (the little “wires” inside a printed circuit board) and solder directly to them, I decided I would try that instead. So with a tiny craft knife, a multimeter, and a lot of hope, I very slowly found the traces that I needed, testing each one with a component on the circuit board I knew should be connected to it. (For instance, if I thought I had found the 5V trace, I would check continuity with that trace and the voltage regulator using my multimeter)
After finding those traces, I still had my work cut out for me. Using the tiniest wires I could find (salvaged from a cable) and a blank breadboard, I very meticulously attached each wire to an exposed trace. An hour later, I soldered on a USB port to my breadboard, and I was ready to plug the keyboard in for a test. Of course, it didn’t work, but after cleaning up a few solder joints, the keyboard blinked to life. I could not have been happier.
My conclusions
I think this keyboard is an excellent representation of how far I have come as an engineer and repairer of things, as well as my style of learning.
When I first got this keyboard and my soldering iron, I had no idea what I was doing, but I tried it anyway, flinging myself into the world of soldering, circuits, and electrical engineering. I’m not sure I would be where I am today without it. And over the years, as I decided, “that sounds fun to try,” I built up my skills to a point where today I am able to do a pretty advanced repair! I am proud of myself for this intrinsically-fueled learning, which is a trait of mine I hold dear.
I am excited that it’s finally out of my closet as a broken thing and… back in my closet as a working thing. And I’ve already been having loads of fun using it to make music, including a theme song for my awesome math tutoring lessons.
That’s all for this article, I hope you enjoyed this tiny window into my repair and engineering process. Just don’t ask where that mysterious wire that enters the keyboard goes… things didn’t fit back into the enclosure, alright? It works.
-Isaiah
More blog:
I had a Broken Keyboard...
How I finally fixed a broken musical keyboard that I've had for years, what I've learned from the process.

The Making of Baguetella
The story of Cinderella, told through stop-motion animated baguettes. It's just as crazy as it sounds.
This is a birthday card.
My process of making birthday card... board boxes